What to Look for in Real Estate Photography for Your Listing
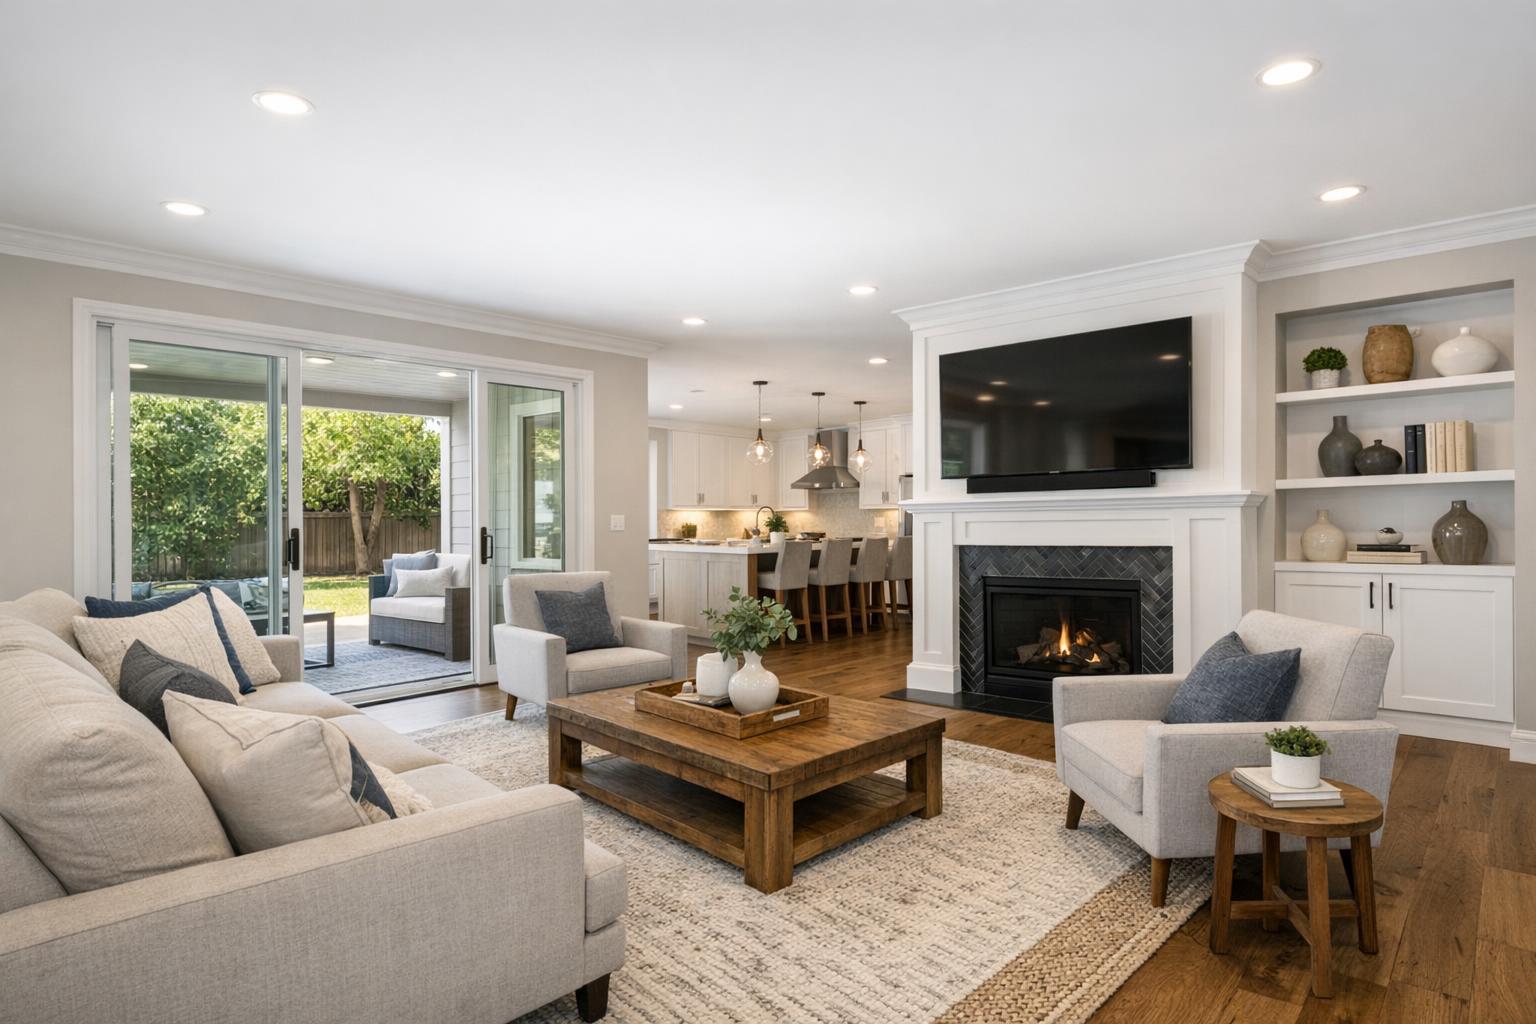
A modern living room with cozy seating, a fireplace, and large glass doors leading to a patio is showcased in the real estate photography.
What to Look for in Real Estate Photography for Your Listing
Real estate photography shapes how a listing is experienced before a single showing is scheduled. Whether you’re an agent, broker, or property owner in New York City or New Jersey, deciding how to visually present a property isn’t about simply filling a gallery with bright images. It’s about clarifying what the space offers, highlighting its features, and making those photos useful and trustworthy to every prospective buyer or tenant.
In markets with as much variety as NYC and New Jersey—compact Manhattan condos, classic Brooklyn brownstones, larger New Jersey homes, and everything in between—real estate photography requires both technical consistency and a flexible, property-specific approach. Here’s what experienced real estate media teams actually watch for, and why these distinctions matter.
Moving Beyond Snapshots: What Listing-Focused Photography Really Means
You don’t need a seasoned eye to realize when listing photos are confusing or don’t reflect a home’s real quality. Poorly chosen angles, blown-out windows, overly processed edits, or galleries packed with repetitive shots can turn off potential viewers before the first inquiry. The question isn’t just: “Do I have enough pictures?” Instead, ask: Will these photos help someone accurately understand this property?
Professional property photos go far beyond documentation. Each image is the result of decisions about composition, light balance, and image sequence. A listing-focused gallery should:
- Show each space in a way that explains how it’s used and connected to the rest of the property.
- Present rooms with visual cues about size, finishes, and special features—not just walls and floors.
- Tell a clear story about the property without misleading edits or filler frames.
Photos can’t do everything, but when done right, they set a listing apart as both appealing and honest. That balance is essential for agents aiming to generate in-person visits from serious buyers.
The Anatomy of Clear and Credible Property Photos
Composition That Informs, Not Confuses
One of the biggest distinctions between professional real estate photography services and casual snapshots is composition. Good composition makes a space visually understandable—showing its shape, highlighting flow, and revealing how one room leads to the next. For example:
- Shooting from a corner often lets you see more of an open-plan living room or a compact NYC studio.
- Centered compositions can work when a room’s symmetry is the point, like showing off built-in shelving, a fireplace, or terrace views in a Brooklyn brownstone.
- In larger New Jersey homes, wider angles and thoughtful transitions between rooms give a sense of the home’s overall layout.
Choosing the right angle isn’t about a one-size-fits-all approach; it depends entirely on the property’s architecture, light, and standout features. A gallery should make it easy to tell one room from another, trace how they’re connected, and spot what makes each space unique.
Straight Verticals: Subtle, But Important
It’s a technical detail many viewers notice subconsciously: If door frames, windows, or cabinets look like they’re falling away from each other, the image can feel distorted and uneasy. In property photos, consistently straight vertical lines help spaces appear true to life. They prevent confusion about a room’s actual size and proportions.
If you want a quick way to assess a photographer’s attention to detail, look for photos where the primary verticals—walls, frames, trim—are tidy and intentional. Overly tilted shots or unpredictable angles often signal a lack of experience or a rushed approach.
Window Exposure and Balanced Lighting
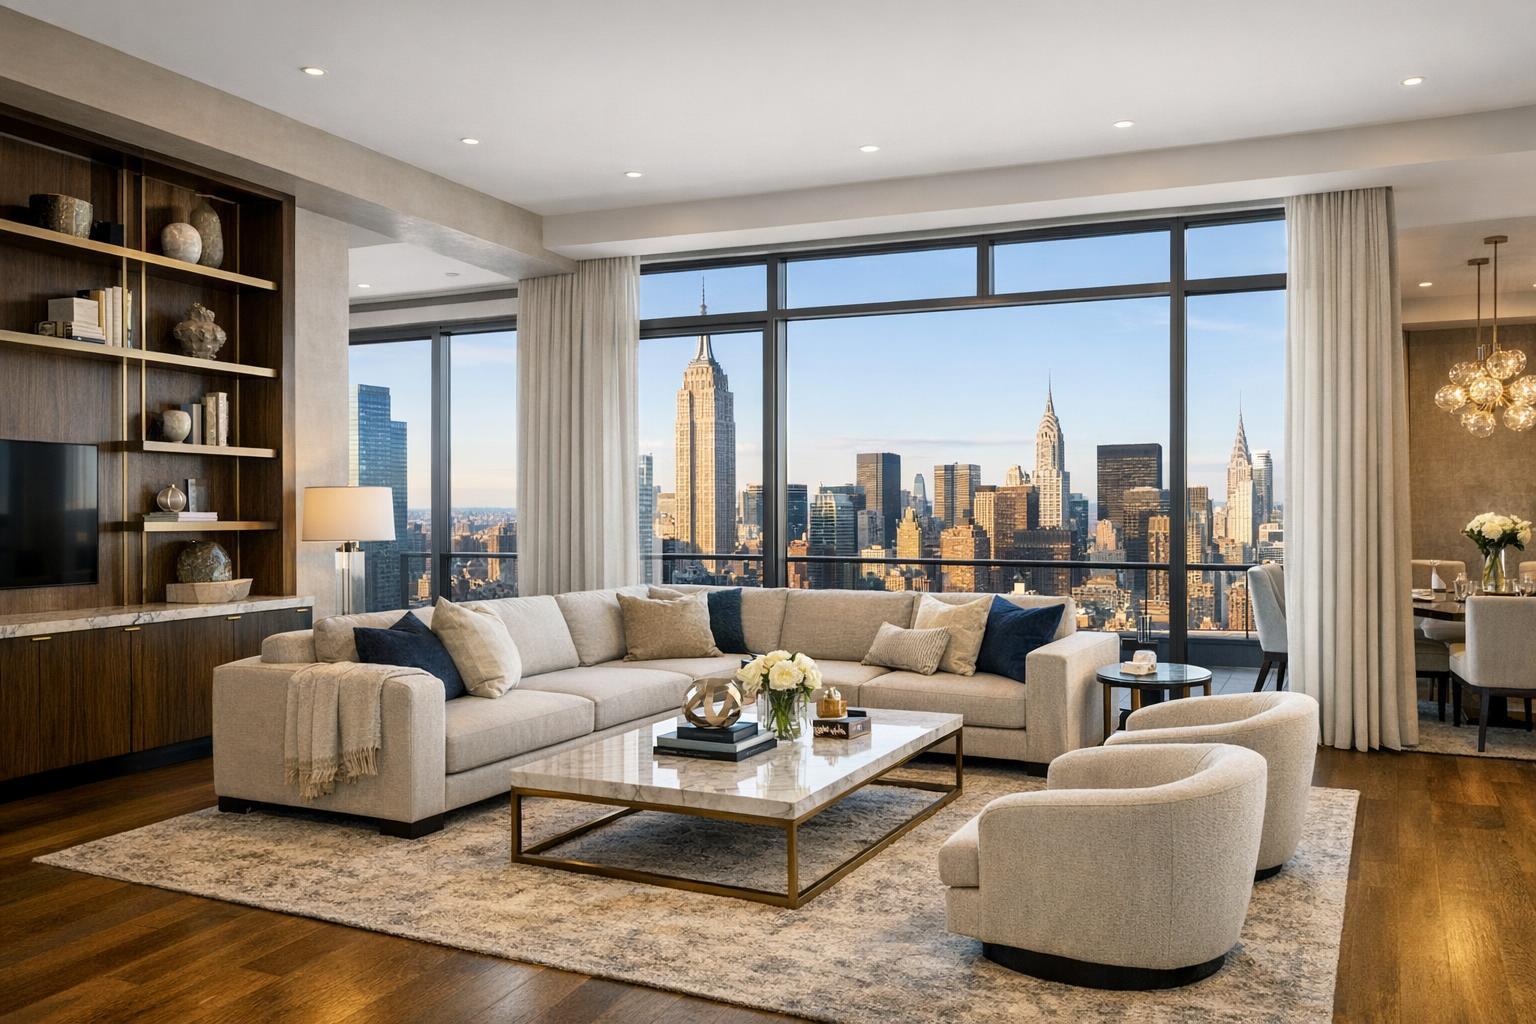
Capturing both interior details and the world outside a window is one of the classic challenges in real estate photography. In city apartments, the contrast between bright windows and shadowed interiors can be especially tricky. If the windows are nothing but white boxes, or the room is dim and uninviting, the photo can feel artificial or incomplete.
Professional photographers aim for a natural, readable window exposure. Sometimes that means showing a city view or providing a sense of openness beyond the glass; other times, it’s just about avoiding overexposed or gloomy-looking rooms. Every space is different, so balancing available daylight and interior lights—without introducing odd color casts or distracting reflections—becomes essential.
In practice, this means that a listing gallery should feel bright and welcoming, but not surreal. The kitchen shouldn’t look blue, wood floors shouldn’t turn orange, and transitions between rooms should look consistent across the set.
Editing to Refine, Not Reinvent
Editing is a necessary part of every professional package, but it should be about refinement, not revisionist history. At RealtaSnap, photos are captured on site as the property exists. Exposure, color balance, and minor distractions can be addressed through edits, but major structural changes, speculative renovations, or “fantasy” features are not digitally created.
For vacant homes, virtual staging is an available option—though it’s most effective in empty or properly decluttered rooms. Adding virtual furniture over existing furnishings rarely produces convincing results. Think of editing as a way to polish what’s truly there, not tell a different story.
Preparation: Setting the Stage for Effective Listing Photos
Even the most skilled photographer can’t “edit out” every distraction. Proper prep before a real estate shoot is a real difference maker, especially in lived-in spaces or tight layouts often found in Manhattan, Brooklyn, and older New Jersey homes. Some practical steps:
- Clear counters, shelves, and visible surfaces of unnecessary items
- Remove notes, magnets, or personal photos from appliances
- Make beds neat and tidy
- Open blinds or curtains if the view and light will help the room’s presentation
- Hide visible cords and pet items
- Move vehicles from driveways for exterior shots
- Identify rooms or features you want prioritized for the session
Advance preparation isn’t about stripping a home of all personality—it’s about minimizing distractions so architecture, light, and unique features are what visitors notice first.
Tailoring Photo Coverage to the Property
One common misconception is that more images are always better. In reality, a concise, focused gallery can be much more effective than a bloated one stuffed with duplicates. The number of photos should match the property’s needs:
- A one-bedroom in Hell’s Kitchen may require a tight set of images focused on the living space, kitchen, and a signature view.
- A multi-level townhome in New Jersey with outdoor features and multiple bedrooms will require broader coverage to demonstrate layout and transitions.
With RealtaSnap, you can select HDR photography options ranging from 10 to 50 photos per listing. This flexibility allows agents and owners to match coverage to the scale and complexity of each property. You can see current options and book directly online at www.RealtaSnap.com.
Reviewing Portfolios with a Listing Mindset
When choosing real estate photography services, reviewing a photographer’s portfolio shouldn’t stop at the “hero” shots. Take a few moments to dig through complete galleries and ask:
- Are rooms depicted clearly, with understandable scale?
- Do lines look intentionally straight and balanced?
- Does window exposure tell you about both room and view where appropriate?
- Are color and image style consistent from shot to shot?
- Is the sequence logical, moving from major spaces to supporting details?
Pay special attention to how the photographer handles properties similar to yours—NYC brownstones have vastly different needs than high-rise condos or larger homes in suburban New Jersey.
Organizing Photo Sequence for the Viewer
The order of images in a listing gallery isn’t just aesthetic; it’s a navigational tool for buyers. Start with your strongest feature, whether that’s an open-concept living room, an iconic façade, a dramatic terrace, or a panoramic skyline view. Guide the viewer through the main living spaces, then on to kitchens, bedrooms, bathrooms, and secondary features.
There’s no single formula: What’s effective for a penthouse may differ from a Park Slope brownstone. But the thoughtfulness of this sequence matters. An intentional gallery order helps prospective buyers mentally “walk through” the property, orienting themselves without having to guess what they’re seeing.
RealtaSnap’s Approach in NYC and New Jersey
RealtaSnap captures professional, listing-focused real estate photography across NYC, New Jersey, and nearby markets. Every shoot is tailored to the property at hand—whether that means capturing the full flow of a townhouse, the verticality of a Brooklyn walkup, or the broad context of a suburban New Jersey home.
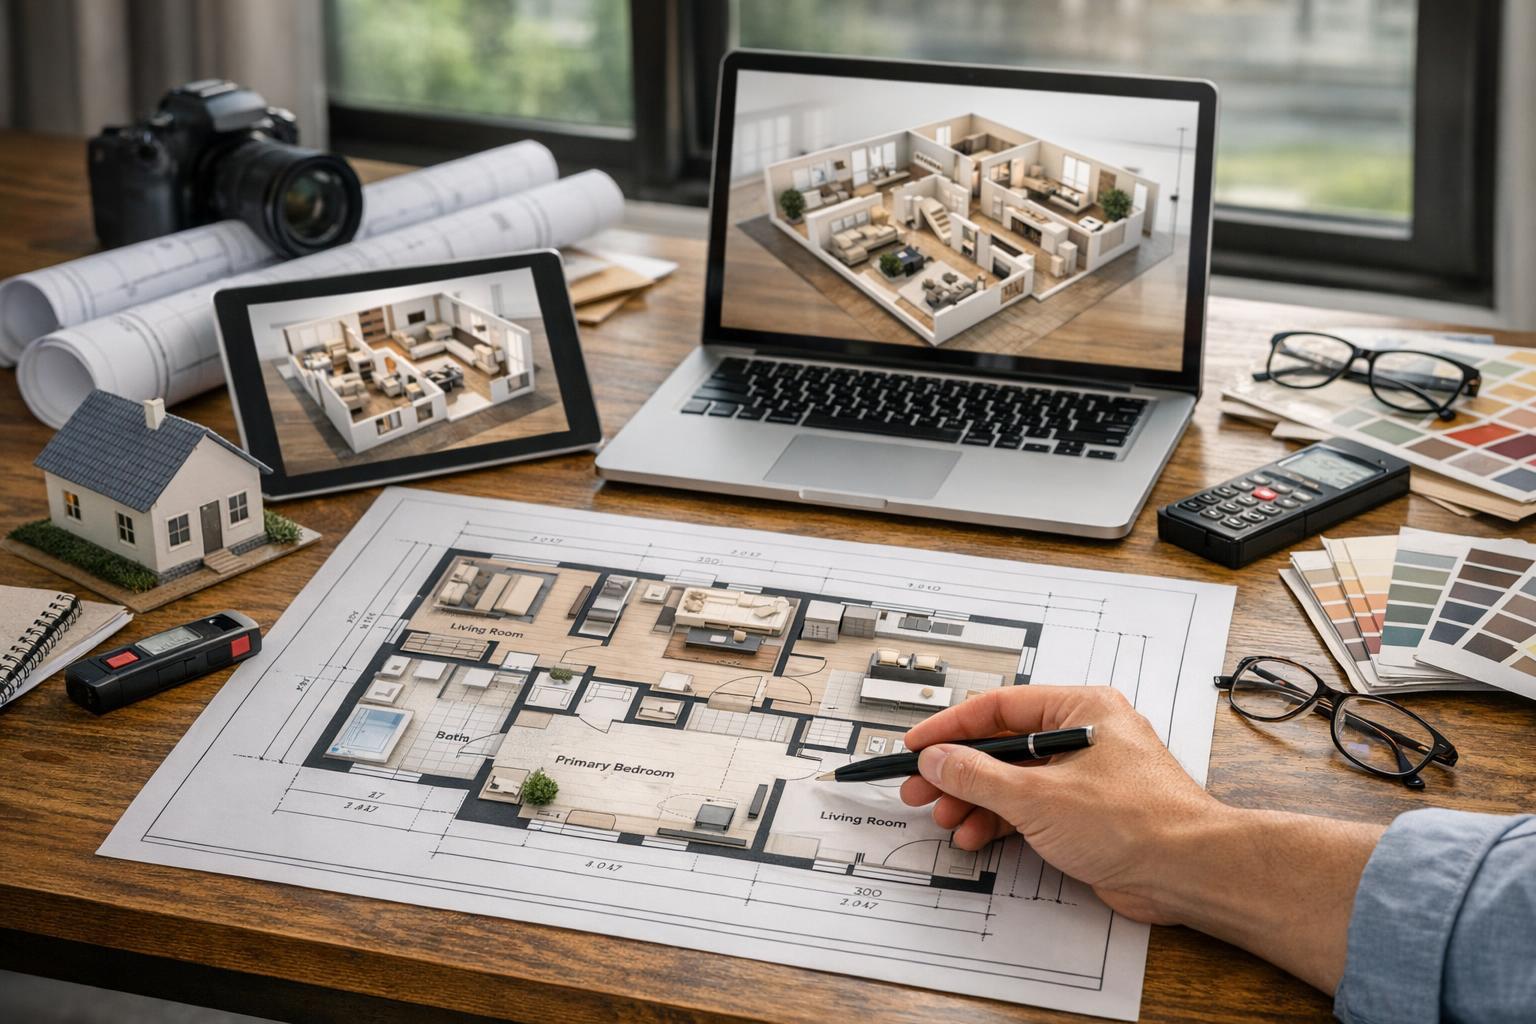
Photos are captured on-site, and edits are made to present spaces cleanly and accurately. Virtual staging is available for empty rooms, and additional services such as video, floor plans, and 3D tours can be added during booking as needed.
You can book online by entering your property address, selecting service options, and picking a time that fits your schedule at www.RealtaSnap.com/schedule.
FAQ
Question: How do I decide how many listing photos to order?
Answer: Focus on showing each main space, layout connections, and distinctive features. Smaller apartments generally require fewer images than larger, multi-level properties with outdoor spaces and amenities. Avoid repeating similar angles just to increase your photo count.
Question: Should lights be turned on during property photography?
Answer: It depends on the room and the effect you’re after. Interior lights can add warmth and definition, but too many can create glare or inconsistent color. Make sure bulbs are working and clean, then discuss with your photographer which lighting setup best shows each space.
Question: Can virtual staging be used if there’s furniture in the room?
Answer: Virtual staging works best in empty rooms. If there’s already furniture present, it should be removed before the shoot, or a paid clutter-removal edit should be completed first. This ensures the staged image looks clean and realistic, rather than cluttered or artificial.
For more information or to view sample galleries, visit www.RealtaSnap.com.