What to Look for in Real Estate Photography for an NYC or New Jersey Listing
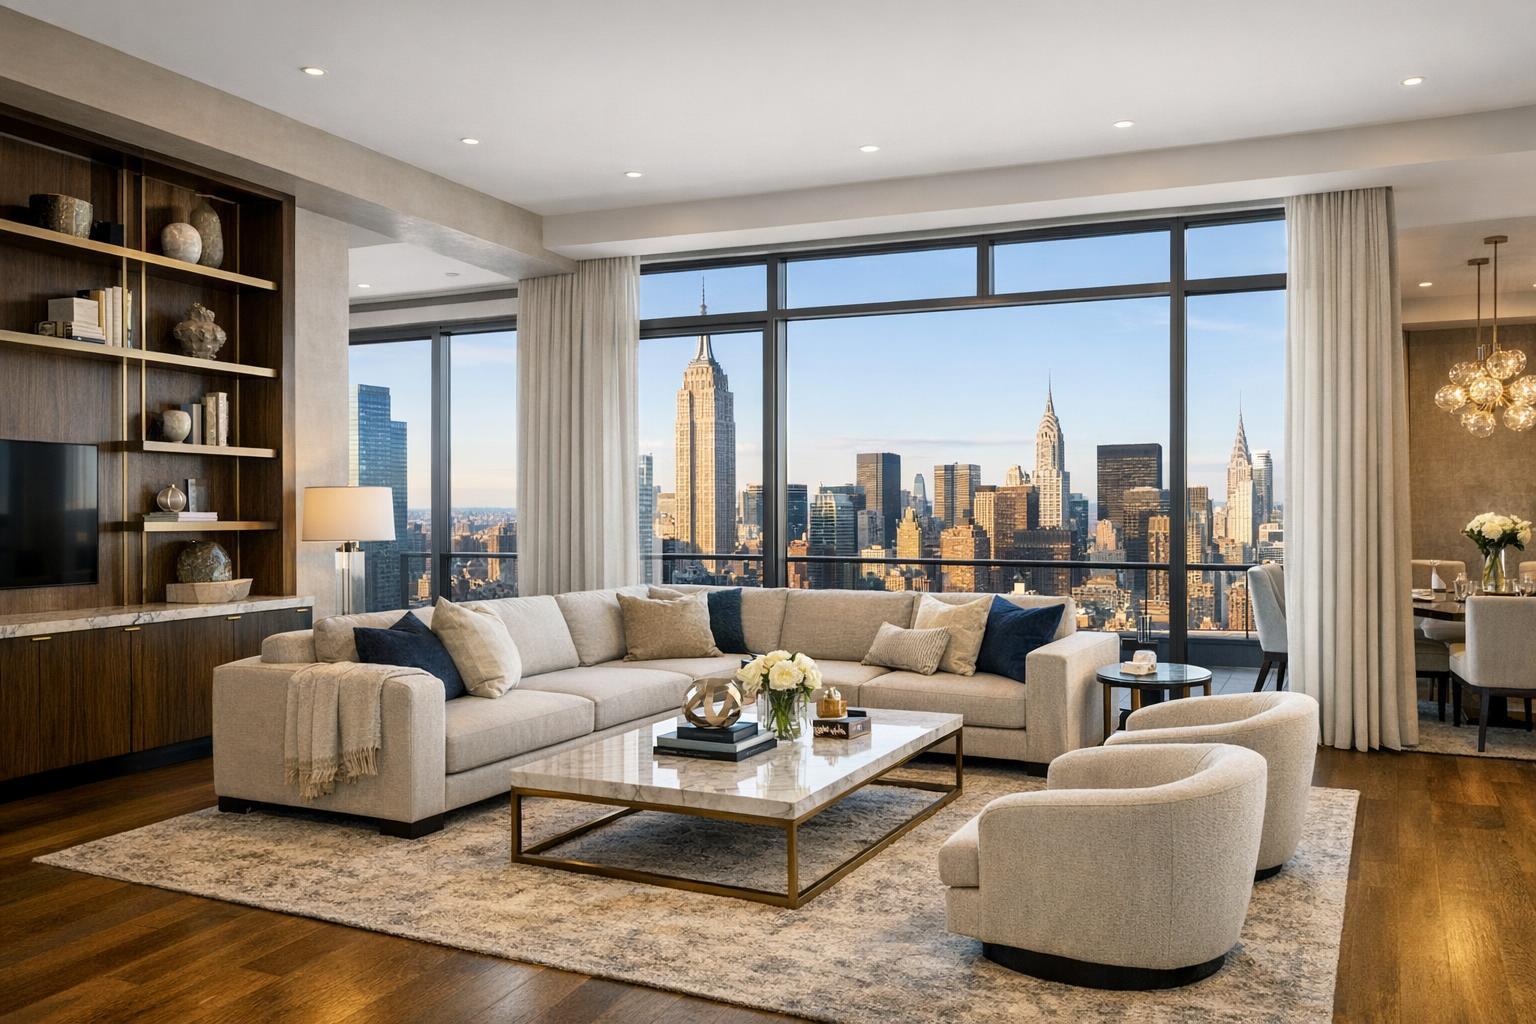
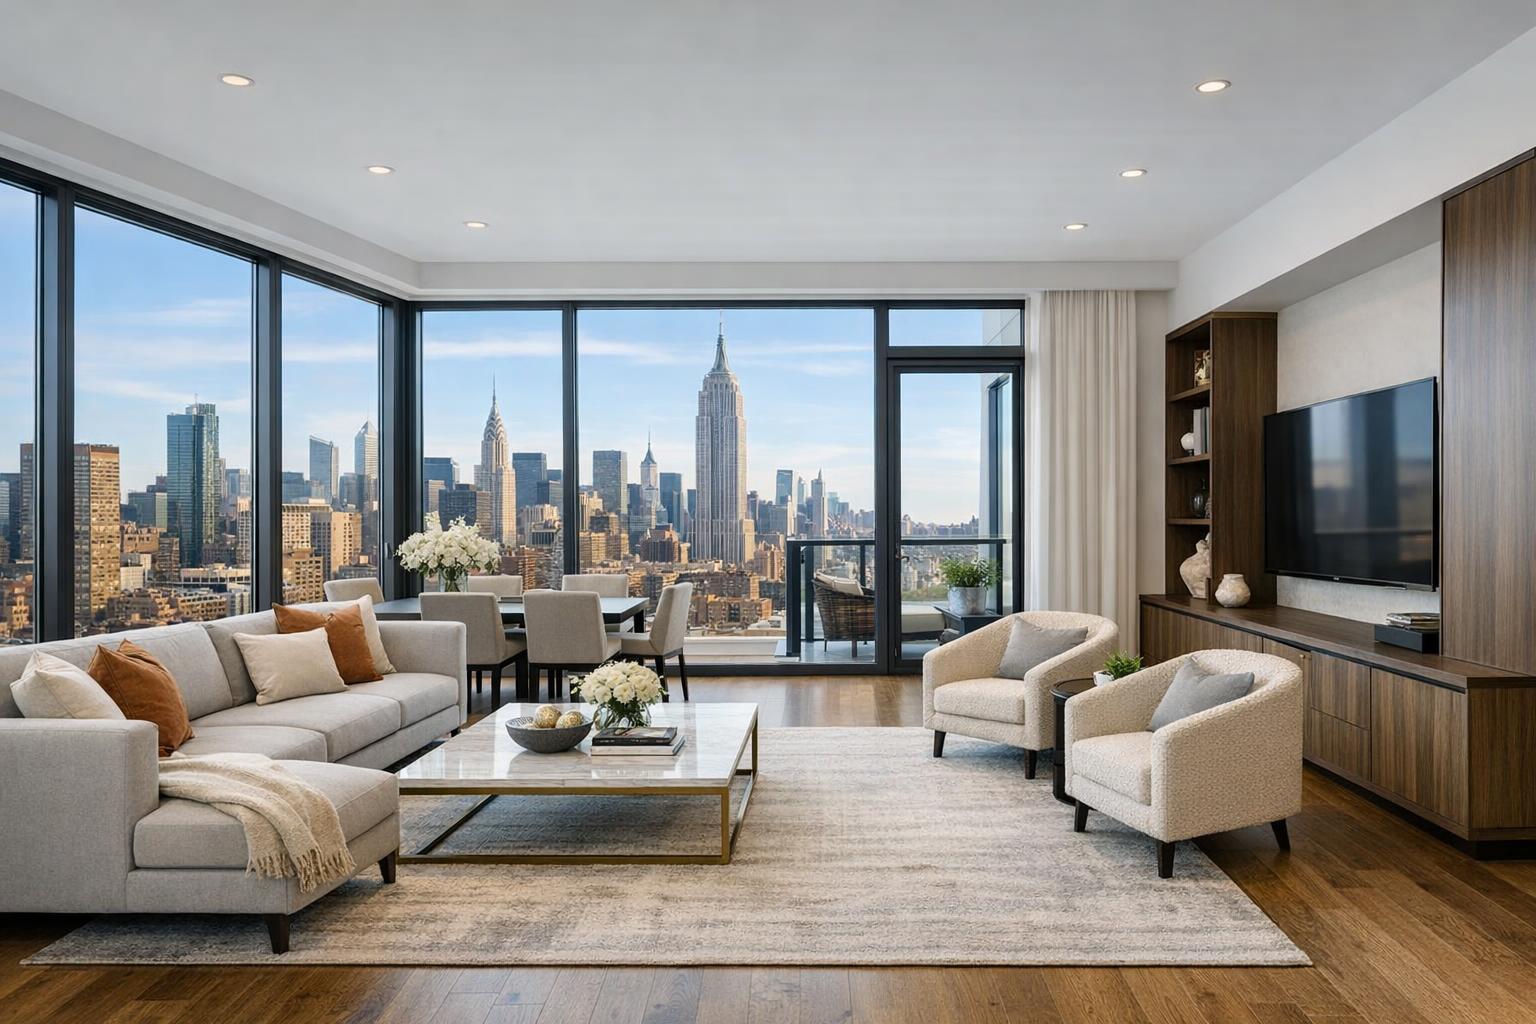
A modern, elegantly furnished living room with floor-to-ceiling windows offers a stunning view of the city skyline in this real estate photograph.
What to Look for in Real Estate Photography for an NYC or New Jersey Listing
Real estate photography is at the heart of presenting every NYC or New Jersey property to the world, shaping that all-important first impression before anyone ever steps inside. For agents, brokers, owners, and property managers making choices about listing visuals, every image should make it easy for a prospective buyer or renter to understand the space, its strengths, and its context—without confusion, distortion, or distractions.
What Professional Listing Photography Should Actually Do
Professional property photos need to do more than simply document each room—they should clarify layout, highlight the property’s best features, manage light gracefully, and bring a sense of visual order to the portfolio. This means:
- Representing the property as it actually exists
- Respecting the real proportions of each room
- Balancing bright windows against shadowy corners for natural-looking results
- Sequencing images to create a logical visual journey
Decisions about coverage, sequencing, and shot selection all influence how a property feels online. In dense urban settings like Manhattan or Brooklyn, the emphasis may be on making small spaces clear, inviting, and believable. In suburban New Jersey, the challenge might involve connecting larger interior zones to outdoor space, showing progression from the curb through the kitchen to the yard.
Why Clarity and Composition Matter More Than Special Effects
A successful listing image should help the viewer quickly identify what they’re looking at: Is it a living room? A bedroom? Does it lead to a patio, or open toward city views? While dramatic, ultra-wide perspectives can grab attention, they often create misleading impressions of space—particularly in compact NYC apartments. Clarity and realism win out over gimmicks.
Effective real estate photography achieves:
- Coverage wide enough to show layout and flow, but not so wide as to create distortion
- Clear focal points—think standout kitchens, fireplaces, renovated baths, or striking architectural details
- Sensible camera height (not too high or low)
- Composed frames that avoid awkwardly cropped doors, furniture, and countertops
For compact urban spaces, carefully chosen angles often do a better job of presenting the relationship between kitchen, living, and sleeping areas than a series of exaggerated, expansive images.
Light Balance: The Quiet Mark of Professional Quality
One of the fastest ways to spot the difference between amateur snapshots and professional real estate photography is in the way each image handles lighting. In both city units and suburban homes, strong daylight streaming through a window can easily overpower interiors, washing out views or casting dark corners. Meanwhile, mixed indoor light sources—overhead fixtures, lamps, daylight—create a challenging environment for unedited photos.
Professional editing blends multiple exposures to ensure that:
- Interiors feel bright but not washed out
- Window views, when possible, are visible without looking fake or “pasted in”
- Color and brightness look consistent across the gallery
Be cautious about overly saturated lawns, luminous light fixtures, or windows that turn sky blue or stark white. The best edits are nearly invisible. Lighting consistency is especially important in properties with deep window wells, dark cabinetry, or spaces that receive little direct sunlight—think north-facing rooms or basement dens.
Straight Lines and Proportions: Respect the Architecture
Architecture carries cues that should be preserved in every frame. Leaning walls or stretching a room sideways for effect can leave viewers feeling disoriented or skeptical. In NYC’s pre-war buildings with tall doorways and detailed moldings, geometric condos, or classic brownstones with narrow layouts, it’s better to keep vertical and horizontal lines true to life, unless the architecture itself dictates otherwise.
A careful eye on composition and post-shoot adjustments to verticals (perspective correction) makes kitchens, living rooms, and bedrooms look stable—never as if the space is tipping or bending. Browsing a provider’s portfolio with these details in mind is one of the best ways to separate thoughtful pros from those who rely on lens tricks.
Planning the Listing Sequence With Purpose
For the viewer, photography should “walk” them through the property in a way that’s logical and revealing. That often means introducing the property with an exterior image, then moving through public spaces and highlighting signature rooms. But not every property fits the same flow—some homes open with skyline views, others with gardens, facades, or amenities.
Before booking, think through:
- Which rooms or views are most important?
- Are there unique features or selling points (roof decks, custom millwork, unusual layouts) that deserve priority?
- Will the flow of images help a stranger understand how the property fits together?
Designing the sequence and communicating priorities—either in pre-shoot notes or during the on-site walkthrough—can make the difference between a scattered set of images and a cohesive, compelling listing.
Preparation: The Often-Overlooked Factor
Getting the property ready for photos is a foundational step, whether it’s a staged townhouse or an occupied high-rise apartment. Preparation doesn’t require perfection or a designer’s budget, but it does mean clearing away objects that distract from the space: excess paperwork, pet supplies, overflowing counters, personal decor, and loose cords.
A practical pre-shoot checklist might include:
- Clearing kitchen and bathroom counters
- Removing garbage bins, laundry, pet items, and unnecessary furniture
- Opening windows or blinds where practical (with attention to privacy)
- Turning on lights and replacing burnt-out bulbs
- Ensuring that all spaces to be photographed are accessible and tidy
- Moving vehicles from driveways for exterior shots
- Confirming which areas should be excluded
Especially in lived-in spaces, simply rearranging a chair or clearing an entryway can substantially improve the image. If the room is vacant, and virtual staging is planned, it must be empty or thoroughly decluttered before digital furniture is added.
Distinct Contexts: NYC Apartments, Brownstones, and New Jersey Homes
The demands of real estate photography vary across the region:
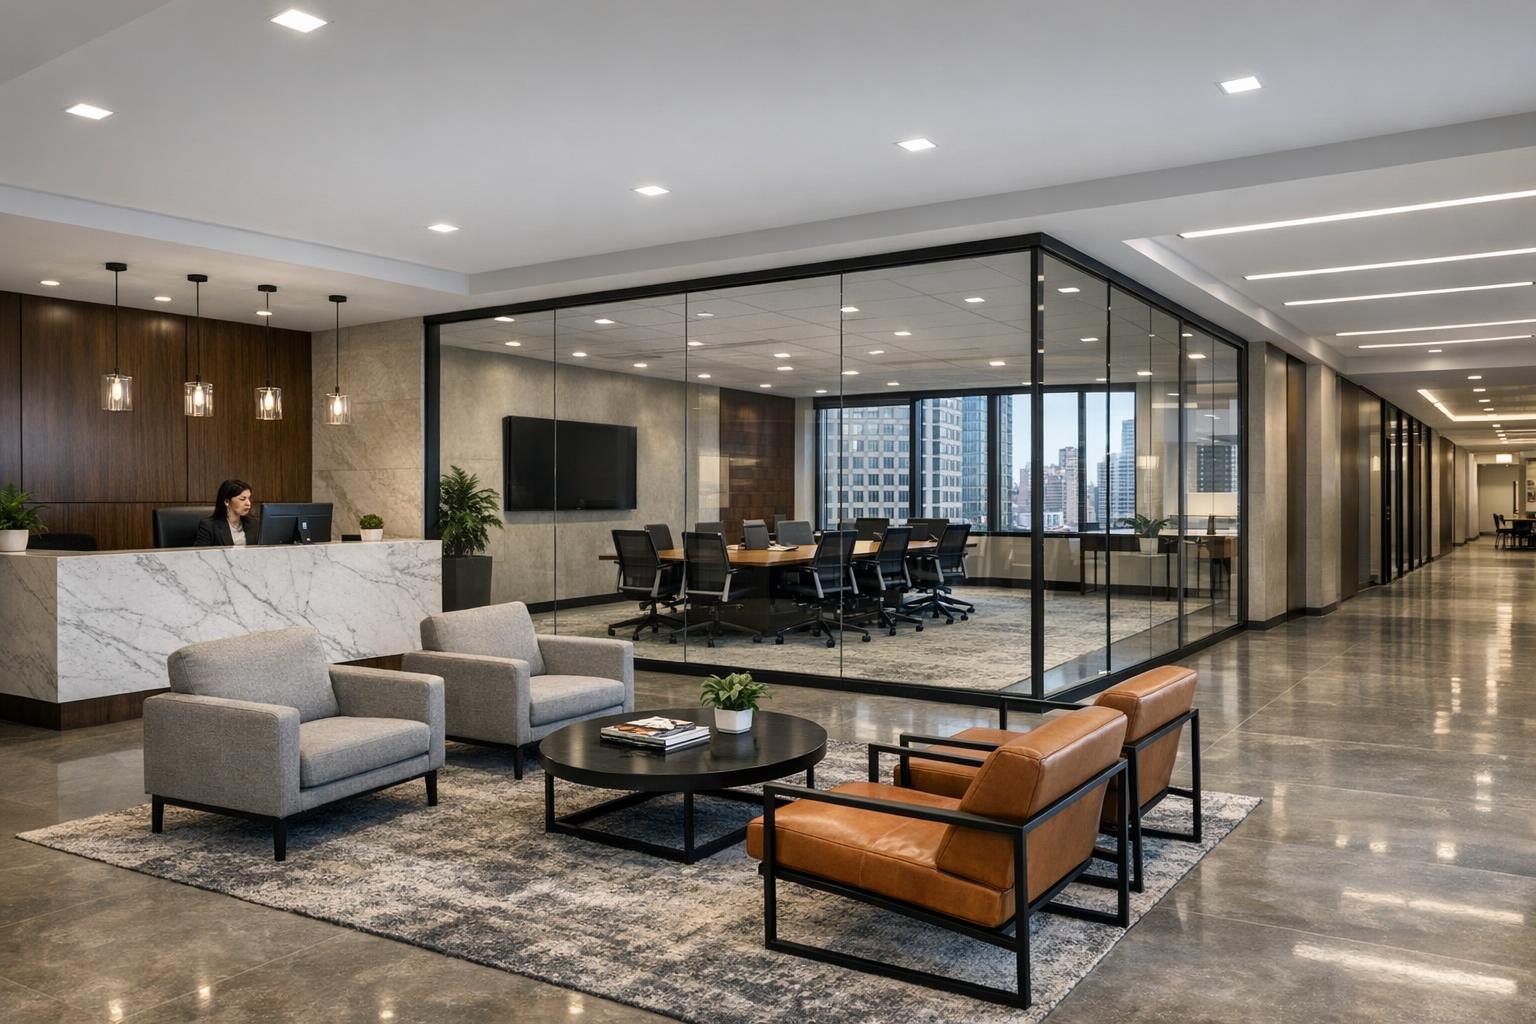
- NYC Apartments & Condos: Often tight on space and rich in layout variation, these listings rely on photos that clarify how rooms connect and what makes the unit distinct—be it light, storage, finishes, or view. Building logistics matter: elevator access, photographing amenity spaces, and securing building permissions all factor into the workflow.
- Brownstones/Townhouses: Character and detail rule. Capturing both scale (wide shots for architecture) and intimacy (close-ups on moldings, fireplaces, stairs) helps buyers understand the story of the home. Floor plans or walk-through video are sometimes helpful for these multi-level, vertically oriented layouts.
- Larger New Jersey Homes: Detached and often set on a larger lot, these properties benefit when interiors and exteriors are connected visually. Show how the kitchen opens to the patio, or how the lower level or bonus rooms function. Exterior shots require clean landscaping, and sometimes, depending on local regulations, aerial photography for a complete sense of scale.
When to Consider Floor Plans, Video, or Virtual Tours
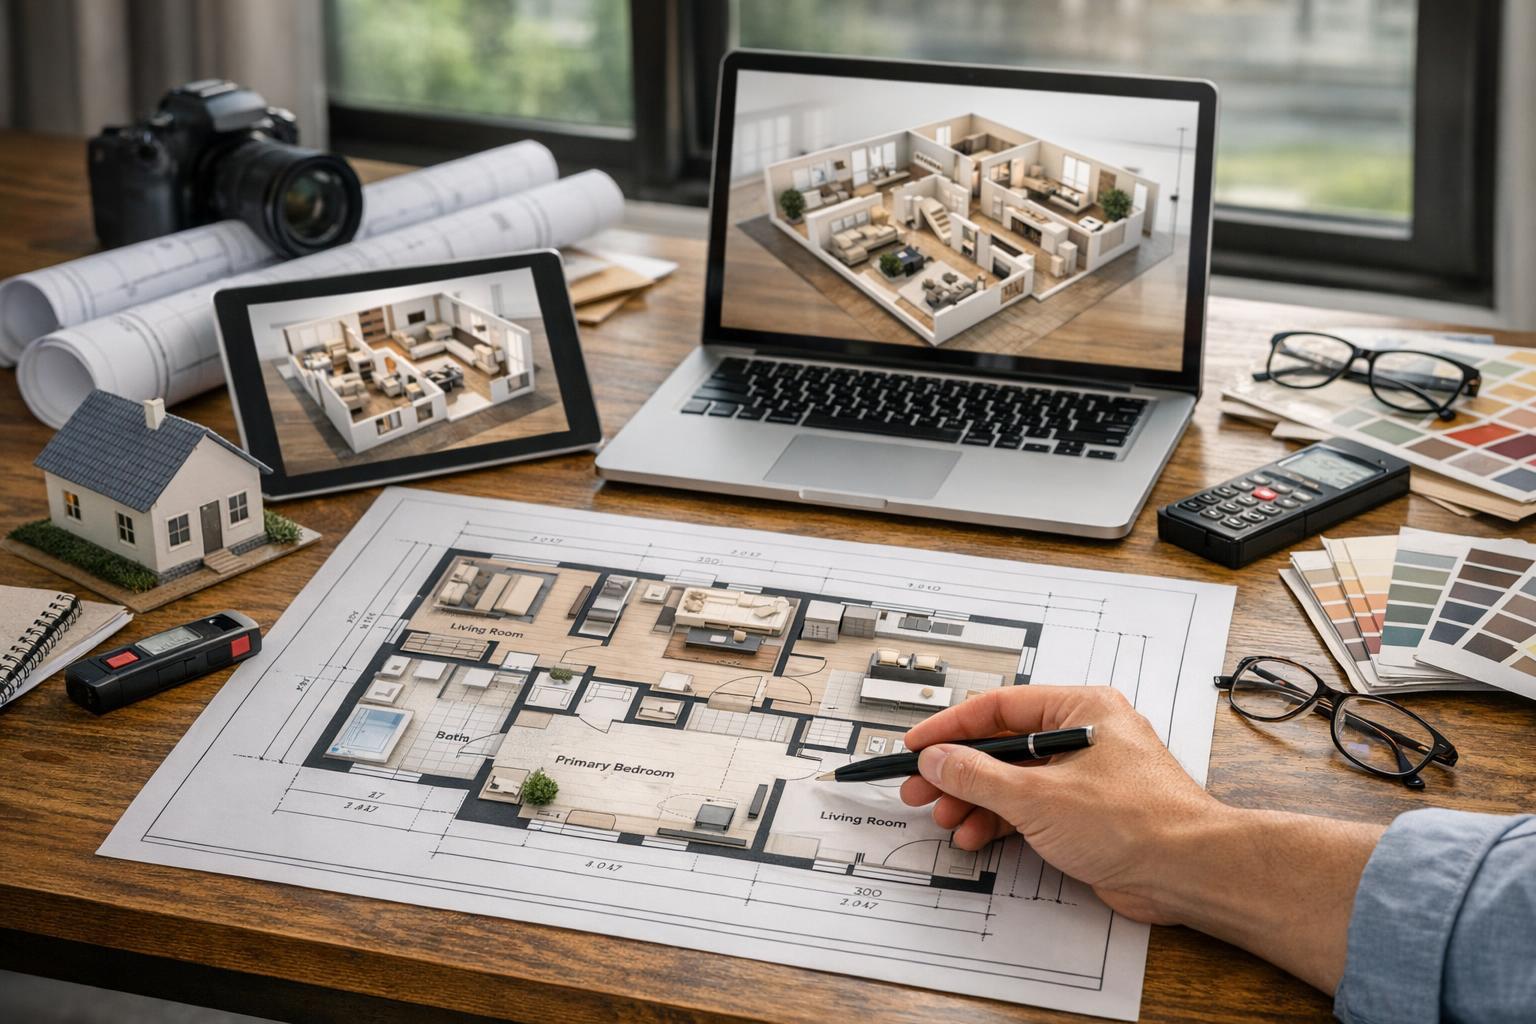
While high-quality photographs frequently provide all the necessary context, some listings are best served by supplementary media. Floor plans clarify spatial relationships, especially for large or complex layouts. Video captures the feeling of movement and the sequence of entry. 3D tours (such as Matterport) let remote viewers “walk” the space at their own pace. Drone photography adds valuable context for larger lots or water views—though it remains subject to weather, airspace, and local building access. For apartment buildings, building management or condo association approval may also be necessary.
Each add-on works best when it directly addresses the needs of prospective buyers or renters, not as a default or checklist item.
For more about these services, see RealtaSnap’s real estate photography FAQ or the photography service page.
How RealtaSnap Approaches On-Site Real Estate Photography
At RealtaSnap, all images are captured as the property physically exists at the time of the shoot—no digital alterations to structural features, no “stretching” of rooms for effect, and no addition of non-existent amenities. Professional editing supports a clean, consistent look, focusing on accuracy and clarity over gimmicks or aggressive filtering. Each property, whether an NYC condo or a spacious New Jersey home, benefits from a clear plan, open communication about priorities, and images delivered to suit the listing’s real needs.
For preparation guides, booking policies, and a gallery of recent work, visit RealtaSnap.com.
Build the Listing Gallery Around Useful Information
Effective real estate photography gives every image a purpose, keeps the property easy to “read,” and respects the space for what it is. By prioritizing clarity, visual logic, lighting quality, and real architectural proportions, you help buyers or renters imagine themselves in the space—while providing agents and owners with visuals that support meaningful outreach.
When preparing for a shoot, aim for a balance: showcase the property at its best while remaining transparent and straightforward about its layout and features. The right images make a listing easier to understand and a viewing easier to book.
Ready to plan your next listing’s visual strategy? Explore our prep guide and get in touch at www.RealtaSnap.com.
FAQ
Question: How many photos should a typical real estate listing include?
Answer: The number depends on the size and complexity of the property. Small city apartments may only require focused coverage of primary rooms and key views, while a suburban home might benefit from showing bedrooms, multiple baths, lower levels, and various outdoor spaces. Each image should add to the story—repetition does not add value.
Question: Should a property owner, manager, or agent be present during the shoot?
Answer: It’s often useful for coordination, access, and highlighting special features or areas to exclude. Providing clear notes to the photographer ahead of time also helps ensure important details aren’t missed. Once the shoot begins, keeping the space accessible and minimizing interruptions speeds up the process.
Question: When do floor plans or 3D tours make sense for a listing?
Answer: Floor plans are helpful whenever a property’s layout is complex, multi-level, or hard to understand from photos alone. 3D virtual tours benefit listings that may attract remote buyers or where interactive exploration adds value. Both require on-site capture, so plan accordingly if these formats will be needed.