How to Choose a Real Estate Photographer in NYC for Your Next Listing
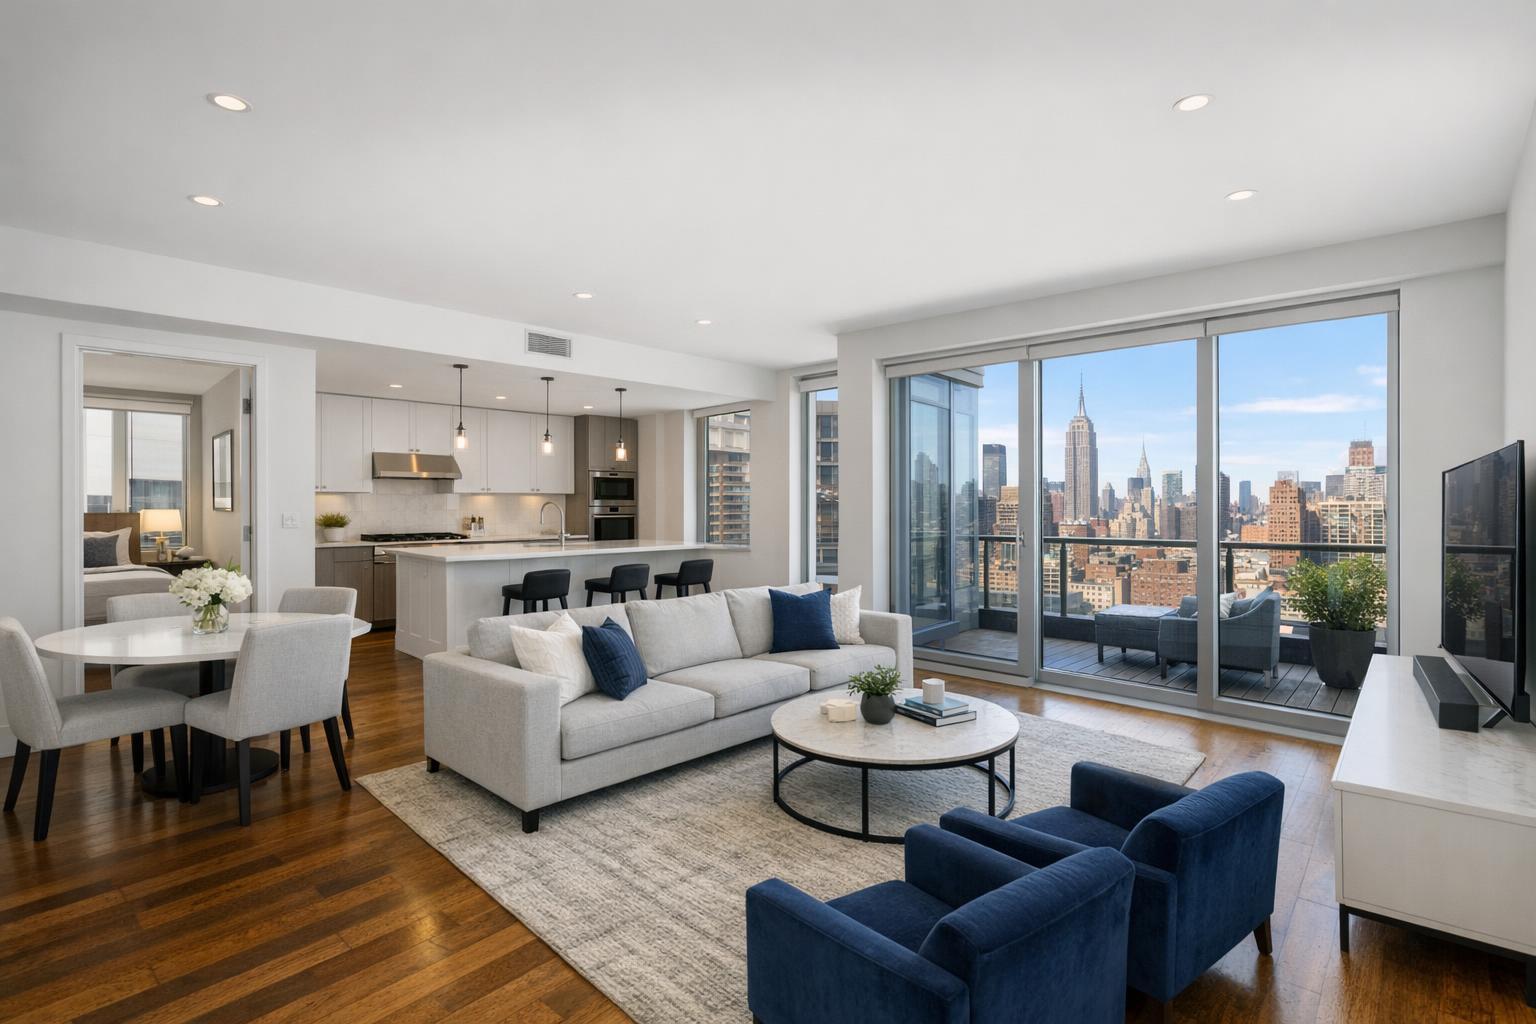
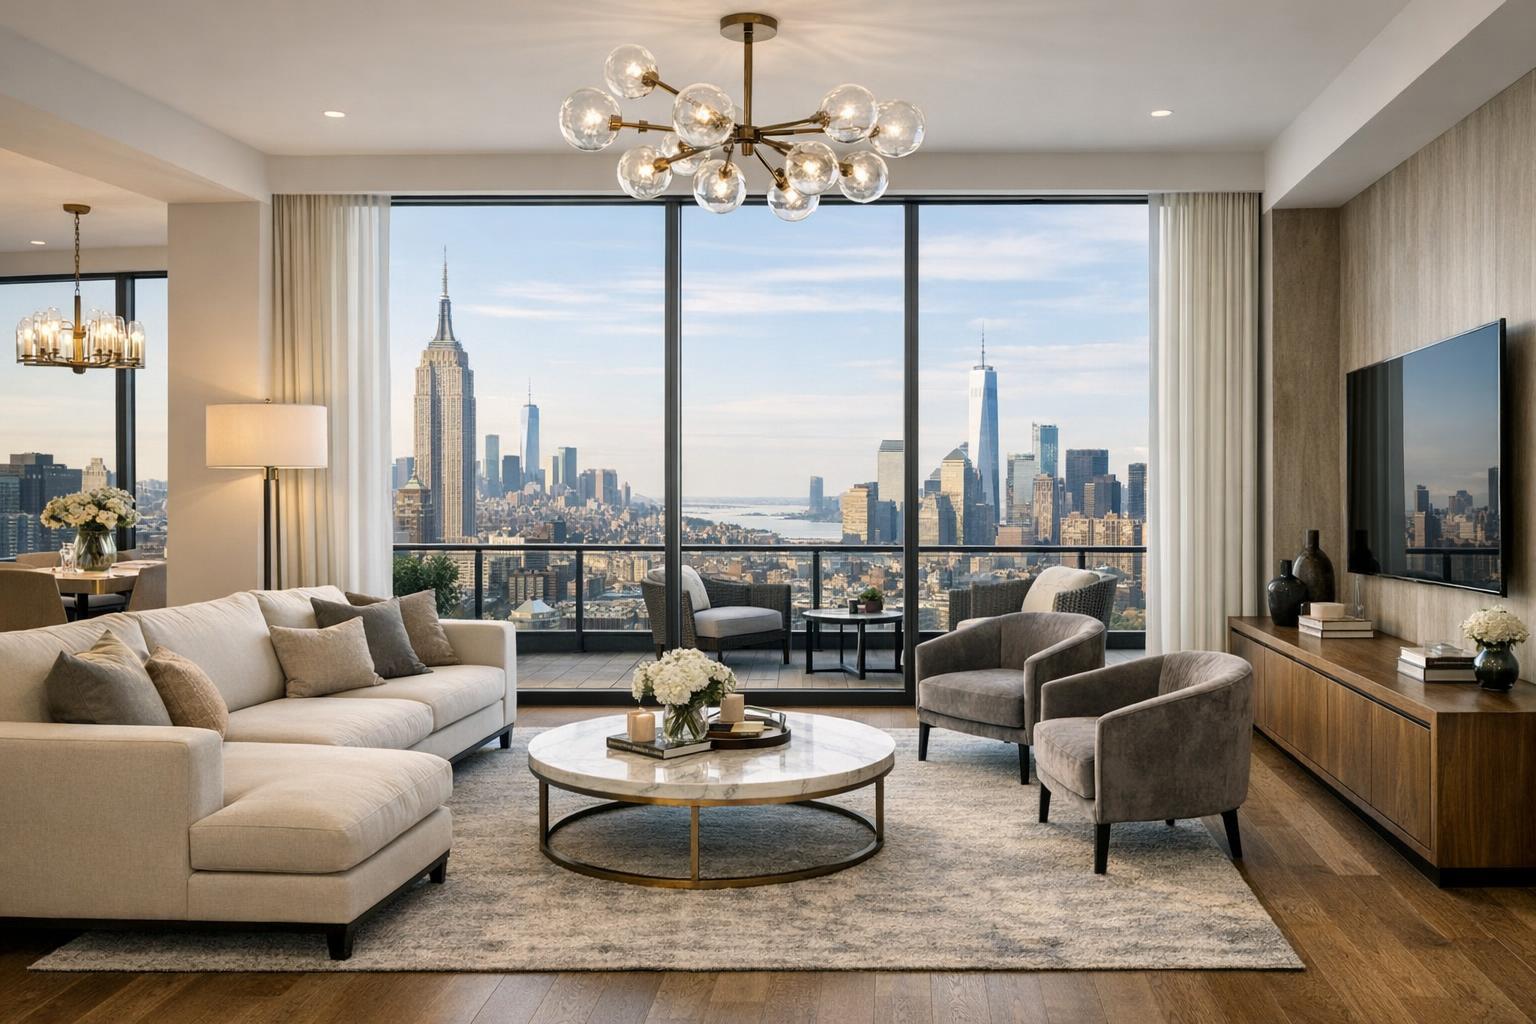
A luxurious living room with a stunning view of the New York City skyline showcases the expert skills of a real estate photographer in NYC.
How to Choose a Real Estate Photographer in NYC for Your Next Listing
The decision to hire a real estate photographer in NYC comes with unique considerations that can make or break how a property is presented and perceived online. For real estate agents, property managers, and owners navigating the city’s competitive markets, finding the right partner isn’t just about selecting images that pop—it’s about choosing someone who truly understands the nuances of New York City listings.
Seeing Beyond the Portfolio
Nearly every real estate photographer in New York will showcase a polished portfolio, but portfolio highlights only tell part of the story. What matters in practice is whether a photographer’s work adapts to different property types and stays faithful to how spaces feel in person. In NYC, where online listing photos often determine whether a potential buyer or renter books an in-person viewing, clarity and accuracy are critical.
What should you look for in a portfolio?
- Straight, vertical architectural lines—especially in rooms with prominent built-ins, cabinetry, or complex trims.
- Balanced exposure that shows both interiors and window views, as practical.
- Realistic room proportions without exaggerated wide-angle distortion.
- Photographs that communicate how rooms connect, rather than just isolated, cropped vignettes.
- Consistent color and white balance—even when daylight changes dramatically.
- Details captured in kitchens, bathrooms, and entryways, not just the main living spaces.
- A mix of wide shots for overview and closer shots for important features.
Sophisticated editing can enhance these factors, but shouldn’t cross into altering what a space actually offers. At the end of the day, viewers want to know where the light comes from, how spaces flow, and what details make a property stand out—without second-guessing what’s real.
Matching Experience to Your Property Type
NYC’s housing diversity means not every photographer is equally adept at every situation. Experience with your particular property type brings operational value—whether it’s a compact pre-war apartment, a condo with amenity access rules, a multi-story brownstone, or a large single-family home just outside the city.
Compact Apartments and Studios
Tight quarters demand a careful approach to both composition and physical workflow. There’s usually little room to maneuver, and daylight can be scarce. In practice, this means:
- Thoughtful positioning to keep lines straight and beds, mirrors, and corners unobtrusive.
- Avoiding extreme wide angles that distort scale.
- Ensuring functional nooks (kitchenettes, sleeping alcoves, dining areas) feel integrated.
Condos and Co-ops
High-rise buildings and managed residences often have their own protocols, including lobby access, elevator reservations, and insurance documentation. Some buildings strictly limit what can be photographed outside the unit. A professional who works regularly in these settings will clarify access rules upfront and confirm which amenities, if any, are permitted for inclusion.
Brownstones, Townhomes, and Larger Residences
Multi-level homes need a sequencing strategy—clients benefit from images moving logically from entry to main living areas and between floors. Exteriors, gardens, and unique interior features like moldings or fireplaces should each have their moment, but coverage should avoid repetitive overlap. In suburban New Jersey homes, there may be much more space to cover, including expansive yards or outbuildings, and operationally that may involve additional time or equipment on site.
Editing as Enhancement, Not Transformation
All listing images require some post-production to compensate for lighting and color variations between rooms, especially in older NYC properties where natural light changes quickly throughout the day. Effective real estate editing should:
- Adjust white balance for accurate, natural-looking interiors.
- Balance window and interior brightness within reasonable physical limits.
- Correct for vertical and horizontal perspective issues.
- Remove small visual distractions through approved edits.
Over-editing, such as turning every room bright white or simulating artificial daylight where none exists, generally introduces doubt for viewers. At RealtaSnap, photographs reflect what physically exists at the property during the session—major architectural features are never altered. For specific editing needs like advanced object removal or virtual staging, only approved, practical requests are accepted, and certain conditions (such as empty rooms for staging) may apply.
Planning and Managing the NYC Property Shoot
Photography appointments in the city are rarely as simple as showing up with a camera. Scheduling should factor in building restrictions, occupant convenience, elevator use, parking, and time of day for optimal natural light. Considerations include:
- How far in advance you can (or must) book an appointment.
- What information the photographer needs about access ahead of time.
- Clear notes for unit entry, building contacts, and any special instructions.
- Home readiness: most delays on photo day come from rooms not being camera-ready.
- The flexibility to select the number of final images or add-ons to best match the property’s needs.
RealtaSnap’s online booking process is straightforward: enter the property address, note specific instructions, choose the required services, and pick from available time slots. Most bookings need at least 24 hours' notice, but rush options can sometimes be arranged if availability permits.
Preparing the Space for Photography
No amount of technical skill can overcome physical clutter or poor lighting, especially in occupied NYC apartments. Preparing each room—clearing surfaces, tucking away personal items, ensuring light bulbs work, opening blinds, and limiting visible pet or move-out evidence—results in photographs that show the property at its best. If certain spaces will remain occupied during the shoot, setting clear expectations ahead of time helps minimize delays and unwanted reflections or backgrounds.
It’s a good idea to reference a pre-shoot prep guide for a detailed checklist before the scheduled appointment.
Deliverables: Choose for the Listing, Not Just the Package
While every property gets the most from professional still photography, some listings benefit from additional media—while for others it’s not essential. What to consider:
- Video: Useful for properties where motion tells the story—think multi-level homes, notable amenities, sweeping views, or open-concept flow. At RealtaSnap, listing videos are captured onsite, focusing on movement and space, not just animated slideshows.
- Floor Plans: Valuable for listings with complex layouts or buyers who want to see the overall structure before a visit. Floor plans always require on-site capture—never generated from photos alone, PDFs, or old drawings.
- 3D Virtual Tours: For large homes or listings where buyers may be remote, a full 3D scan can be practical. Like floor plans, this is always completed on site, and not from static images.
- Drone Imagery: In rare cases where exterior context is important—townhomes, roof decks, or large suburban properties—an aerial photo or video may provide meaningful perspective, but is always subject to FAA rules, airspace, weather, and pilot discretion, especially in dense city zones.
- Virtual Staging: Helps show furnishing possibilities for vacant homes. Staging is best completed only after a space is empty and cleaned; otherwise, preliminary object removal edits may be required as an additional step.
Choose what suits your listing strategy and audience—avoid paying for media simply because it’s bundled in a package.
Asking the Right Questions When Evaluating Providers
Comparison shopping shouldn’t just focus on price. A lower estimate may reflect fewer images, less time on site, or basic editing rather than comprehensive service. Here’s what matters:
- Can the provider show photography from properties like yours?
- How do they address challenging lighting or compact layouts?
- How many final images are included, and is there flexibility to add more?
- What specific preparation guidance is provided ahead of the appointment?
- Are video, drone, virtual tours, or floor plans available as add-ons if needed? Are they captured onsite?
- What is the confirmed booking and scheduling process?
Direct answers indicate a provider familiar with the city’s realities and committed to a smooth workflow. At RealtaSnap, service offerings and operational details are confirmed upfront so agents, managers, owners, and staff know exactly what to expect.
A Practical, Professional Option for NYC Listings
In a city where every room, square foot, and detail counts, choosing the right NYC property photographer should go beyond surface appearances and reflect true operational expertise. Professionalism isn’t just about attractive images—it’s about reliable scheduling, documentation, honest representation, and a process that supports everyone who needs to make the property look its best.
For more on RealtaSnap’s real estate media coverage, including photography, video, floor plans, and virtual tours, visit www.RealtaSnap.com.
FAQ
Question: How many final photos do I actually need for a standard NYC listing?
Answer: The ideal number varies by property size, type, and features. A studio apartment typically benefits from fewer images than a large, multi-level residence. The main goal is to cover all spaces relevant to buyers while avoiding repetitive or misleading perspectives.
Question: Is it possible to get a virtual tour or floor plan created from existing photos?
Answer: No. Both 3D virtual tours and floor plans require physical on-site capture with dedicated equipment. Existing listing photos may help plan a shoot, but cannot be used to generate accurate plans or scans.
Question: When should I schedule photography in the listing preparation process?
Answer: Schedule photos for after cleaning, decluttering, repairs, and furniture setup are complete. This maximizes the value of the images and reduces the risk of capturing last-minute updates or clutter. If timing is tight, focus on making the main rooms ready and ensuring property access for the photographer.